Considering Snapchat to promote your brand? Here is a short guide to show you how to set up Reach and Frequency ad campaigns on Snapchat.
While Snapchat may not be the platform with the most reach or the most sophisticated advertising tools, it can offer advertisers access to a younger and very engaged crowd. So, if you’re targeting younger demographics, you really may want to consider Snapchat ads. There are two buying types available on Snapchat. Auction buying and Reach and Frequency buying (just like on Facebook).
Reach and Frequency buying is currently rolling out to some qualifying Advertisers in the US, UK, France, Saudi Arabia, Canada, Australia, Germany, India, Norway, the Netherlands, and Denmark. So, it may not be available to you right now, but it’s good news if it is, as it allows you to buy in advance with “predictable ad delivery and control over frequency.”
The buying type is available for Snap Ads and Lenses, and while it’s highly predictable in terms of reach and impressions, you will have to remember that it’s by no means 100% guaranteed.
In any case, if you have access to it, here’s how to set up your first Reach and Frequency Campaign on Snapchat.
Step 1. Preparation
- First, you will need to log in to Ads Manager and select your Ad Account from the dropdown in the top right-hand corner.
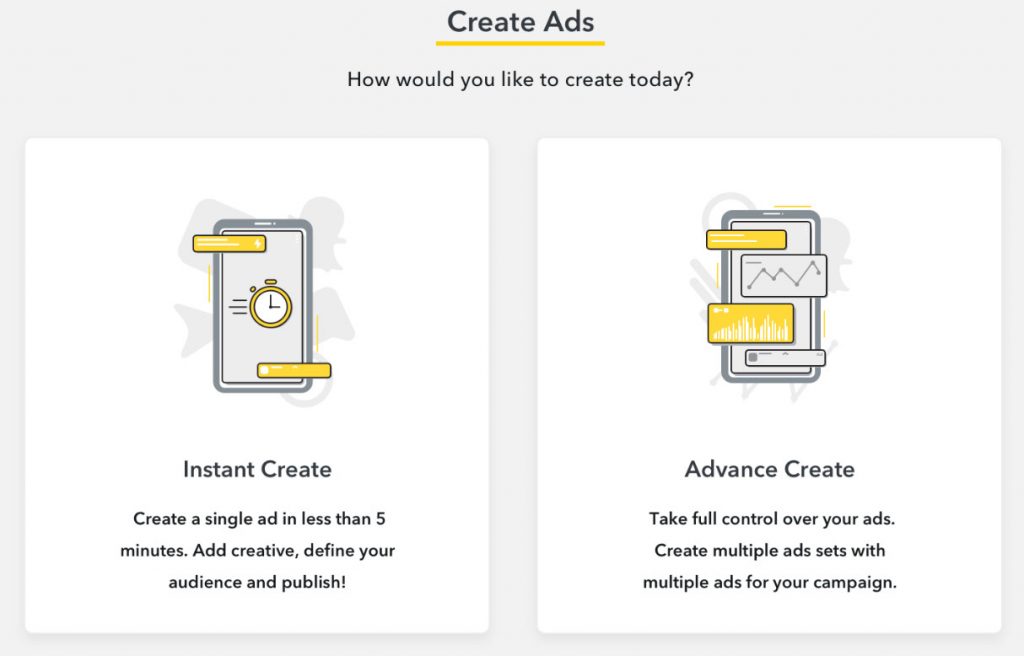
- Click the menu in the top corner to ‘Create Ads.’
- Then, you will need to select ‘Advanced Create.’
- Under the ‘Select Your Objective’ section, choose ‘Reach and Frequency.’
Step 2. Campaign Setup
Here, you will need to begin by choosing whether or not your Ad Account will run housing, credit, or employment Ads. If you choose ‘Yes’ you will not be able to use targeting parameters that could include age, gender, or postal code level targeting. If you do, your ad will be rejected. However, you can choose a minimum age targeting to be applied, up to 21 years of age.
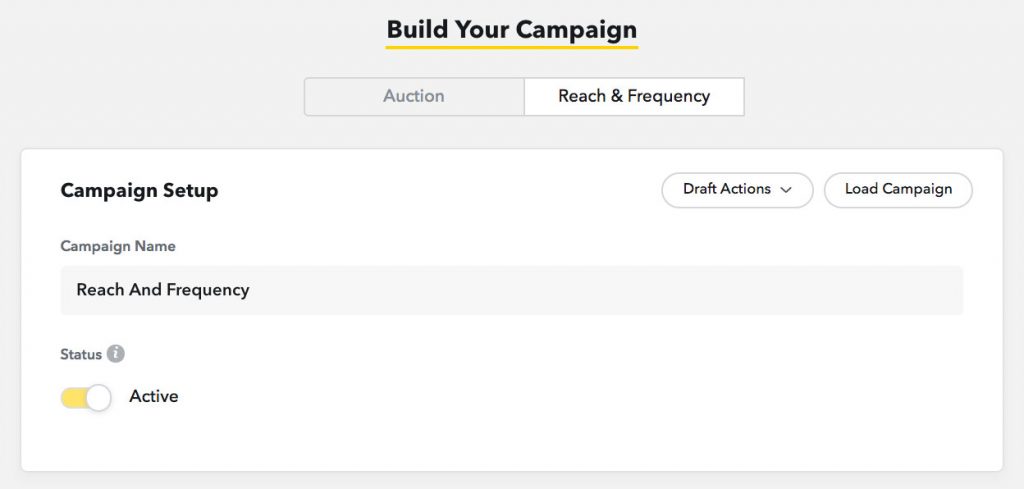
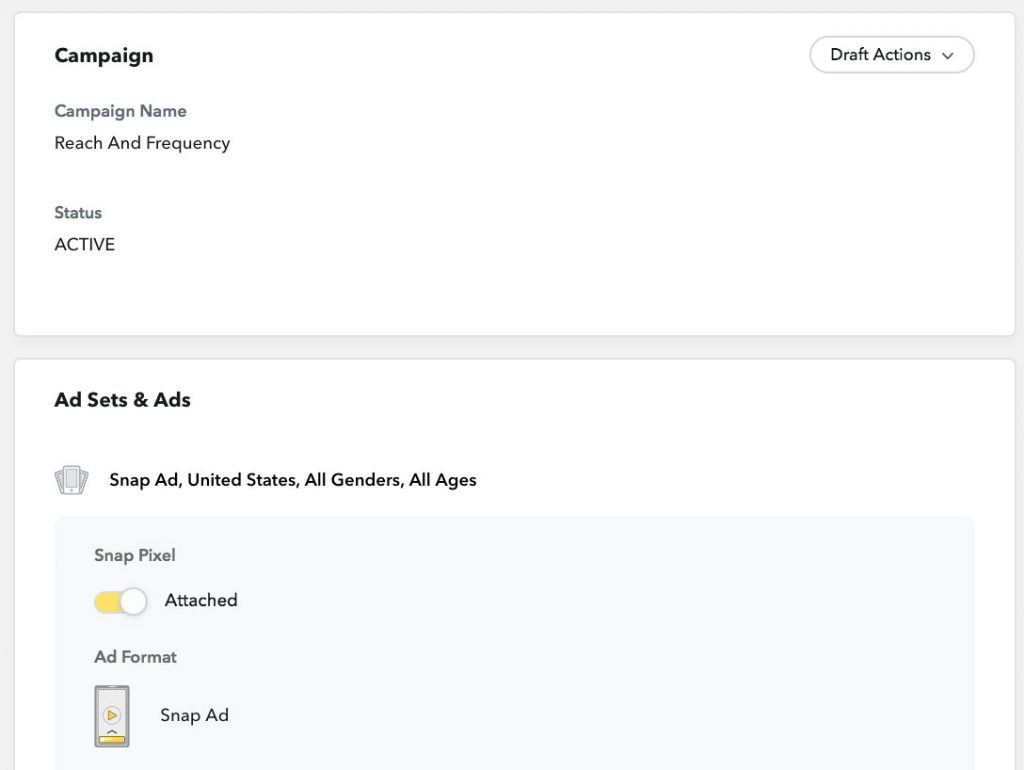
- Name your Campaign.
- Set the status to active or paused.
Step 3. Ad Set Setup
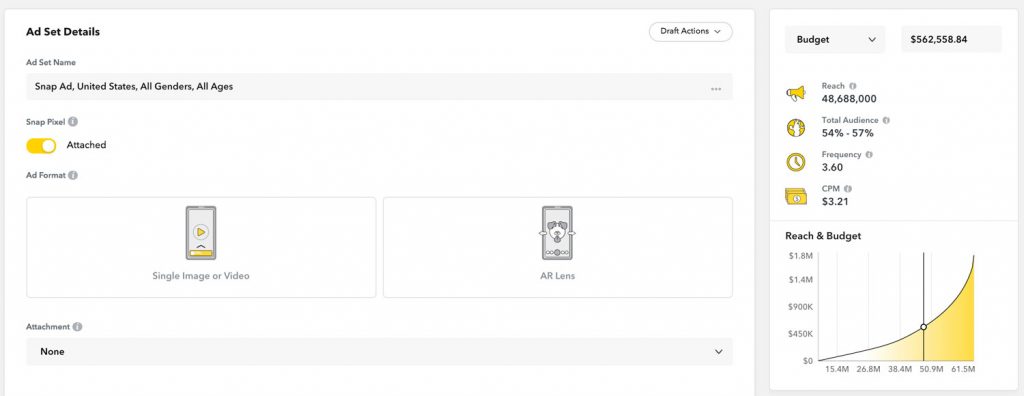
- First, you will need to name your Ad Set.
- Then, you should choose your creative type. This can be a Single Image or Video, for which you can also choose attachments: Long Form Video, Web Site, or Deep Link. You can also choose an AR Lens as your creative type with the following attachments: Web View, Long Form Video, App Install, or Deep Link.
Head’s up, if you haven’t uploaded your Snapchat Lens yet. You should plan to upload your Lens Creative at least 5 business days ahead of your desired Campaign launch date. If you don’t know how to upload your Snapchat Lens, here’s how.
Step 4. Choose Your Placements
- Single Image or Video: For single image or video, you can choose between:
– Automatic Placement: Run Ads across all of Snapchat. This option provides flexibility to improve results and maximize reach. Automatic Placement includes the Publisher Stories, Our Stories, Shows, and User Stories. This option is recommended for scale, and removing any placements can reduce the reach of your campaign.
– Edit Placement:- Between Content: Run Ads between User Stories, Publisher Stories, and Publisher Shows.
- Only User Stories: Limit Ad delivery to User Stories only.
- Within Content: Limit your ad delivery to our curated content (Partner Curated Stories and Our Stories). You may also control the context in which your ads appear by including or excluding specific categories or publishers
- Lenses:
– Camera: If you’re launching a Lens as part of your campaign, you will use the ‘Camera’ placement. This allows you to reach users while they are creating Snaps.
Step 5. Choose Your Target Location
Choose the country you want to target and choose states and DMAs to either include in your targeting or exclude from your targeting. You will be able to see the estimated reach number on the right hand side – this will update depending on various targeting criteria you choose. Here you can also see the reach, percentage of total audience, frequency, and CPM of your campaign.
Here you can also toggle between ‘reach’ and ‘budget,’ to input either and get a result for the other.
Step 6. Choose Your Demographics / Audience
Choose the demographics you’d like included in your campaign targeting – Age range, gender, language, and advanced demographics.
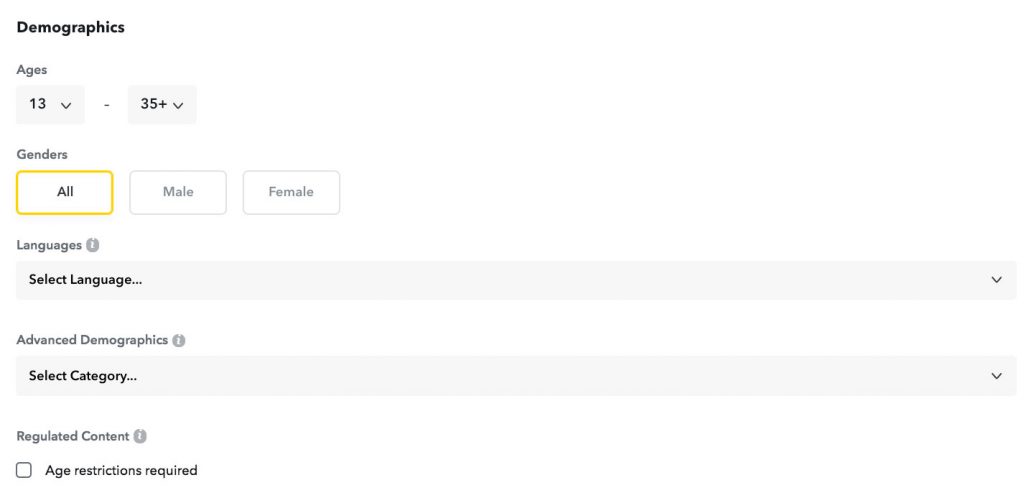
This is also where you can choose to use a Custom Audience. Please note, though, that some custome audiences are not available.

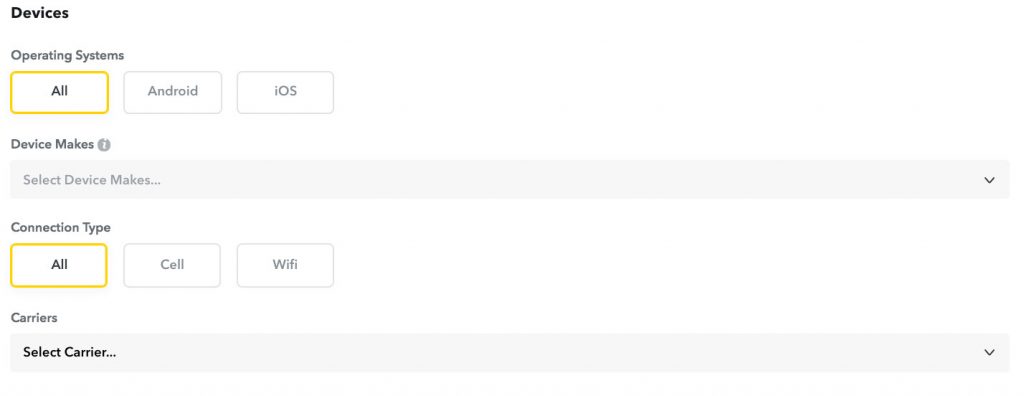
Step 7. Choose Your Devices
Choose your targeted OS, device brands, connection types, and/or specific carriers you’d like to reach.
Step 8. Choose Delivery
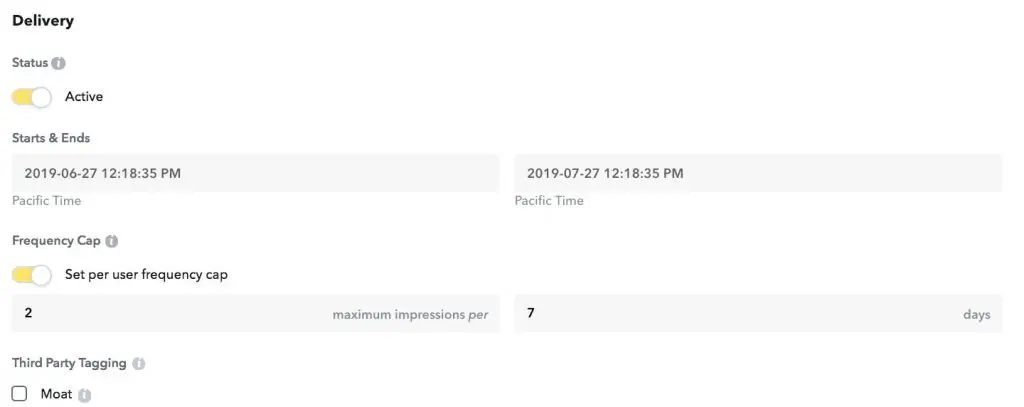
- Choose a status (active or paused).
- Choose the start and end times.
- Set a frequency cap – a maximum number of times a user is exposed to an ad during a period of time. You are able to choose between 1 and 50 impressions per specific interval (days).
- Choose if you’d like to implement third party tagging.
Step 9. Design Your Ads
Now it’s time to design your Ad.
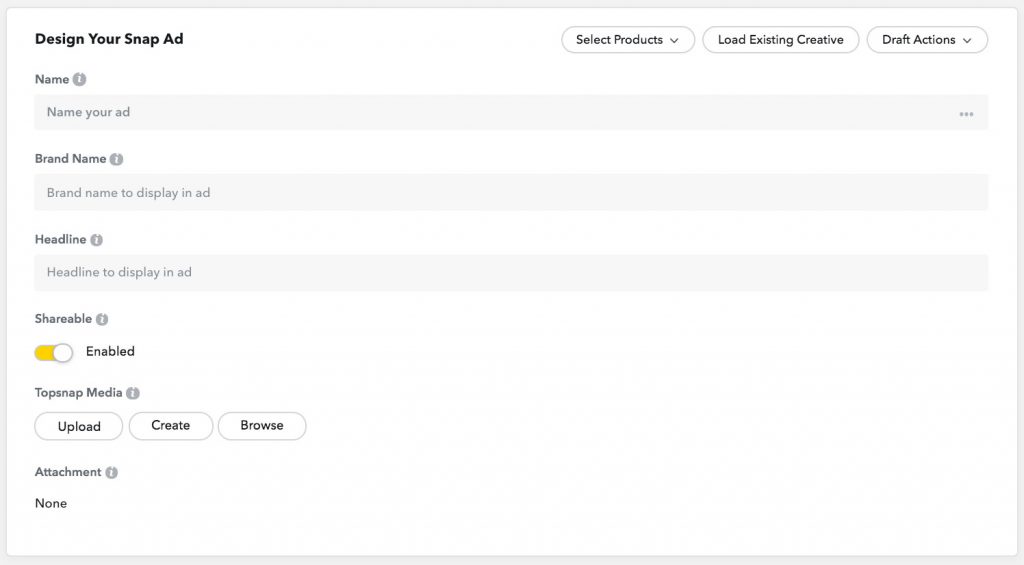
- First, name your creative and choose to make it shareable or not.
- Add your brand name and headline.
- For a Snap Ad, you can upload (single image or video), create (create Ad in Snap Publisher), or browse for your Top Snap (choose an existing asset from your Creative Library).
At this point, if you’re launching a Lens, browse for it and select it. If your Lens has an attachment, add the relevant details here. Similarly, if your Top Snap has an attachment, input the details for your Long Form Video, Web View, or Deep Link.
When booking a Reach and Frequency campaign you won’t need to upload a creative during the campaign creation process. However, your must do so a minimum of 12 hours before your campaign is scheduled to go live.
Step 10. Set Your Ad Delivery
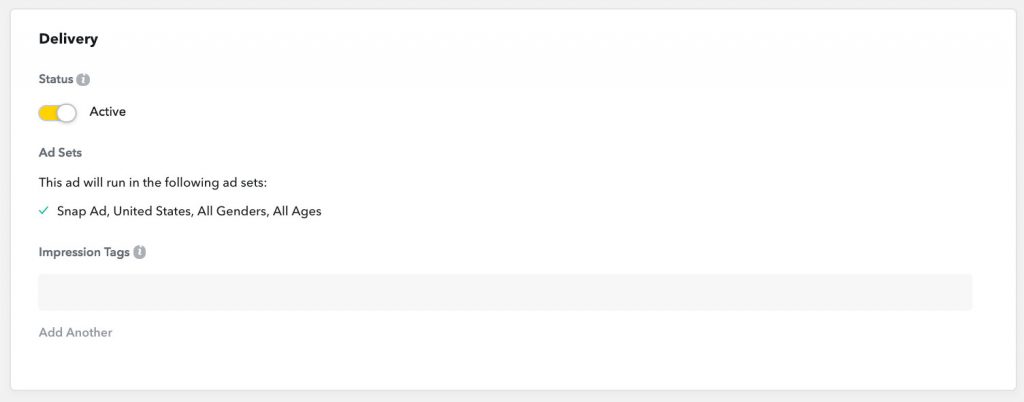
- First, choose a status for your Ad (active or paused).
- Select which Ad Sets you’d like your ad to run in.
- At this point, you can also choose to add in 1×1 impression trackers for View and Swipe Up as well.
Finally, just review your settings and publish if you’ve got everything right. Just remember that Snapchat’s team will have to approve your campaign. So don’t expect it to go live immediately.
[box]Read next: How To Set Up Reach And Frequency Campaigns On Facebook[/box]
